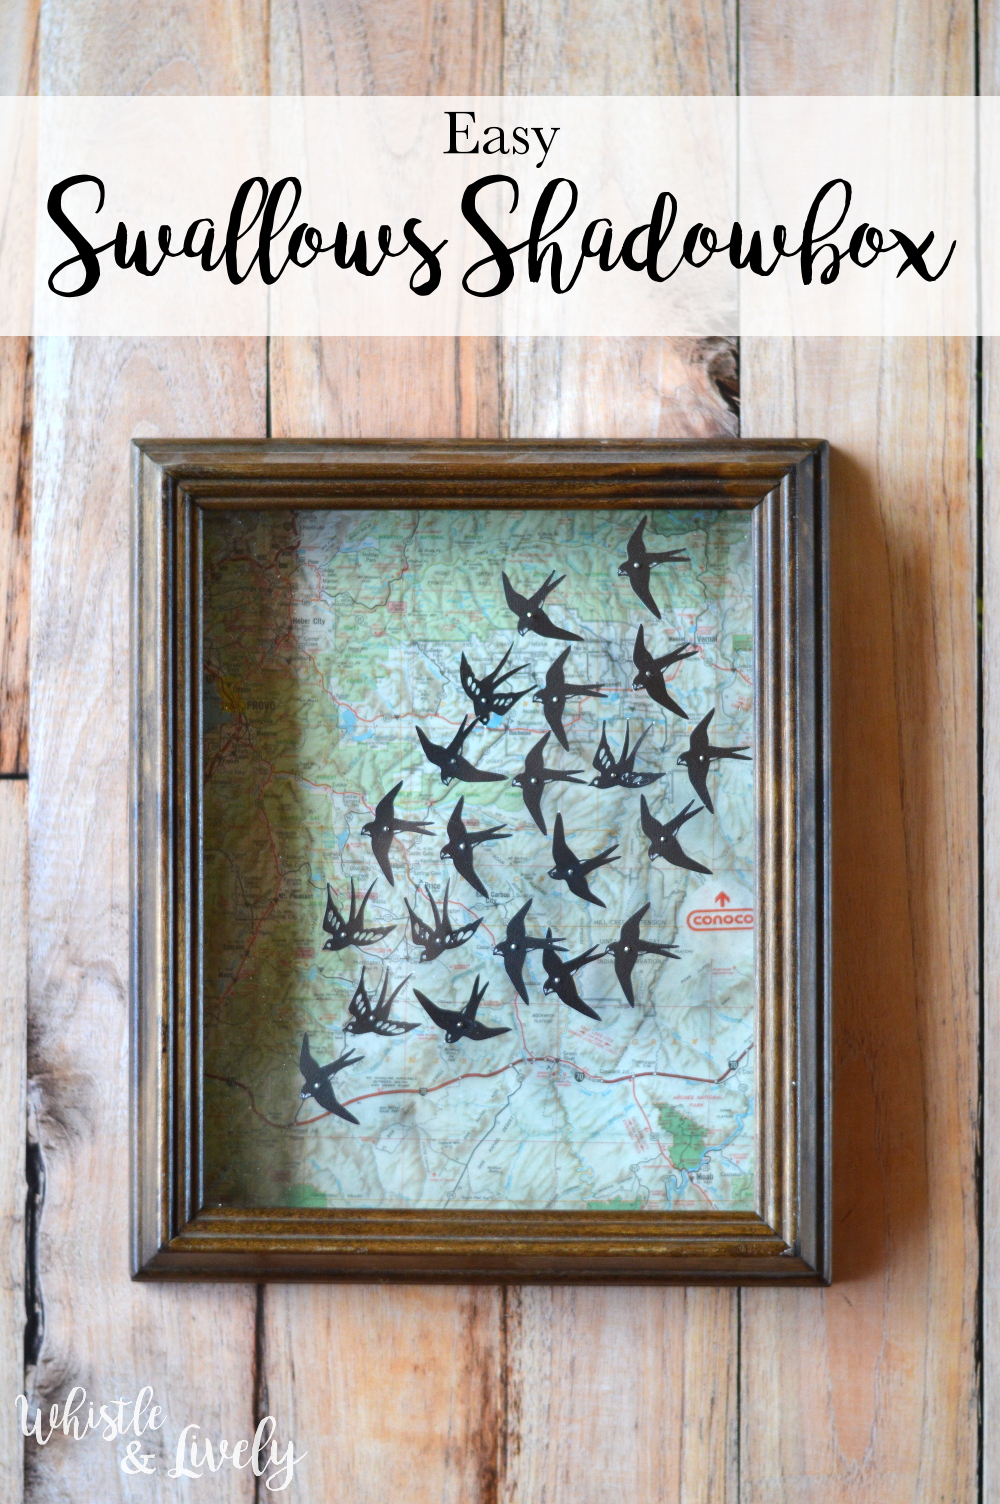
Hello my friend! What’s on the docket this week? It’s crazy how summer gives my routine the middle finger. My kids, who normally are in bed around 8 have been going to bed around ten. But it’s summer and they are only little once, so I am trying to be chill about it. I found the time to make this fabulously retro map and swallows shadowbox. Isn’t it fab? I want to make another BIG one if I can find a shadowbox that suits me, but for now this adorable one will work fine. You won’t believe how easy it is to make.
What you need: (affiliate links)
–New or thrifted shadowbox
-Old Map
–Pins
–Cork Board
-Paper Swallows (I cut mine on a cutting machine)
I found this cool old shadowbox at a thrift store a while back and have been hanging onto it for the perfect project idea. I haven’t found very many shadowboxes for $1!
For FREE local maps, hit up your city hall. You should be able to find some near the tourism pamphlets. Mine had quiet a few to choose from and I came home with more than I needed.
I’m not a hoarder, guys. I promise.
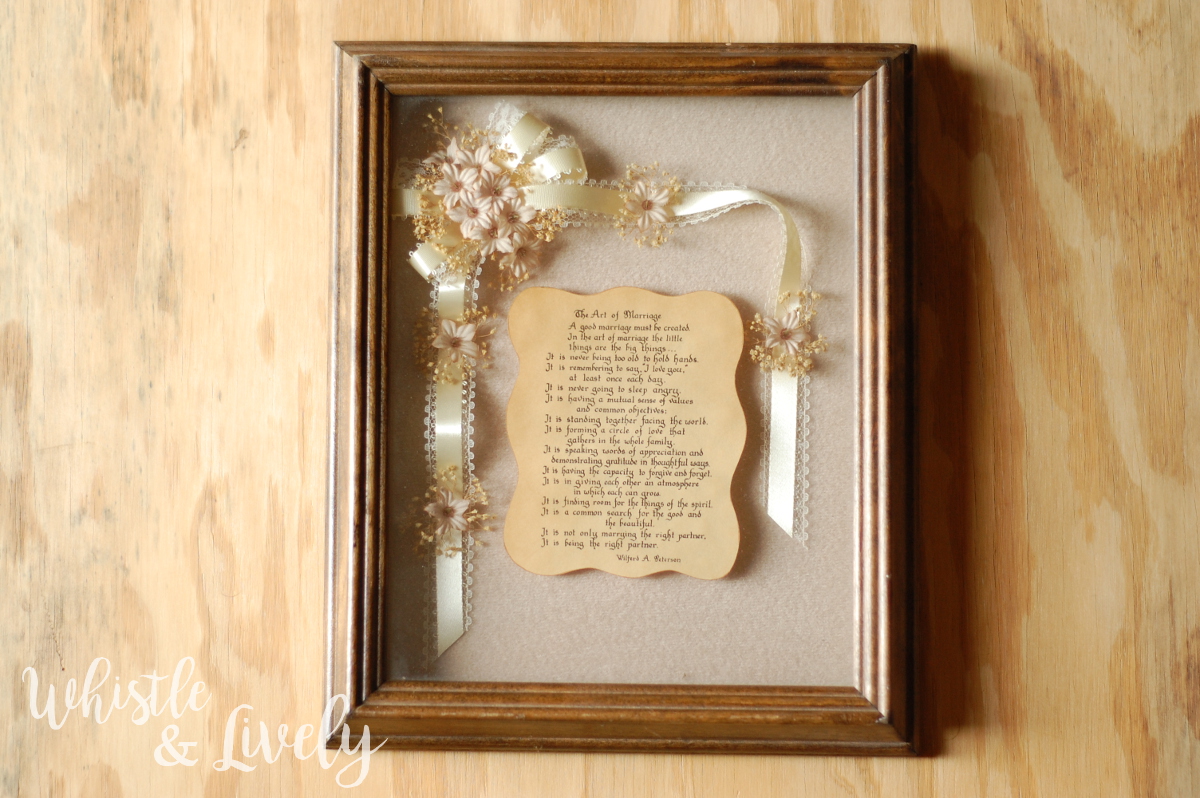
Begin by dismantling your frame. The back of mine was quite soft, but a new one won’t be, so you will need to get a piece of cork board so your pins can stick into it easily.
Using your back as a guide, trace a line on your map.
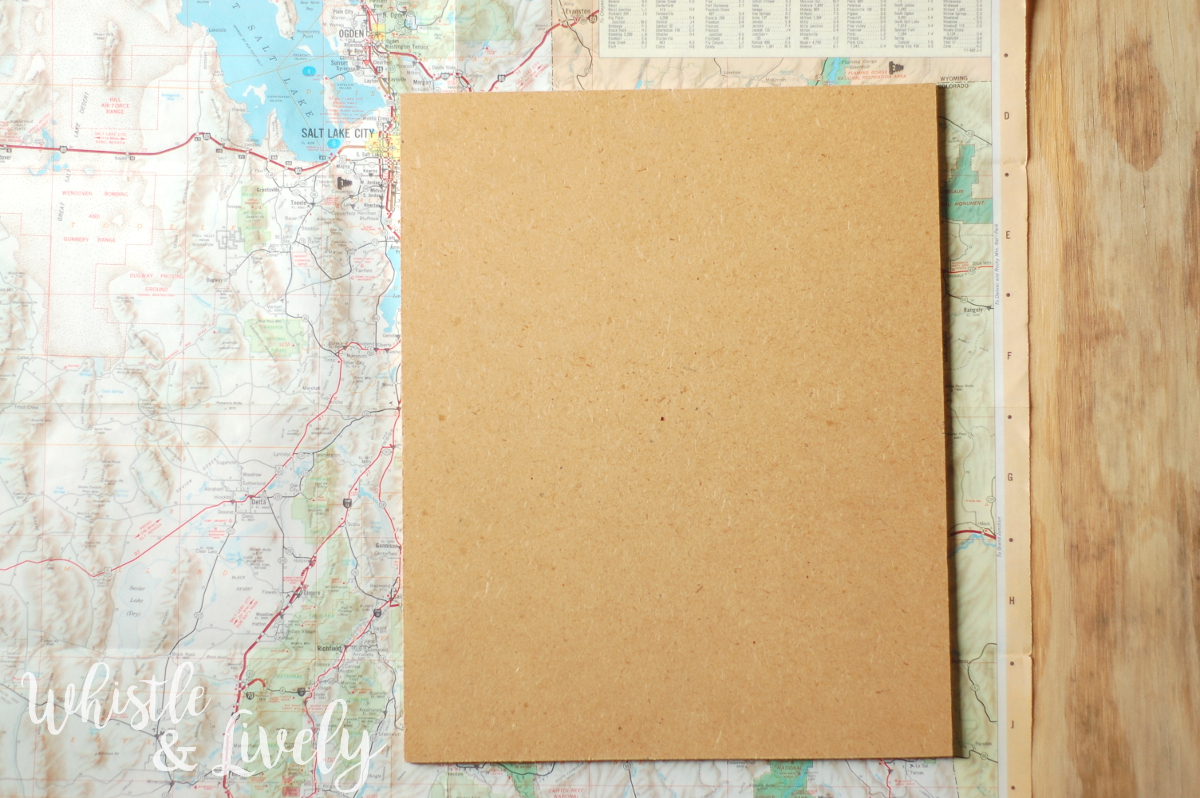
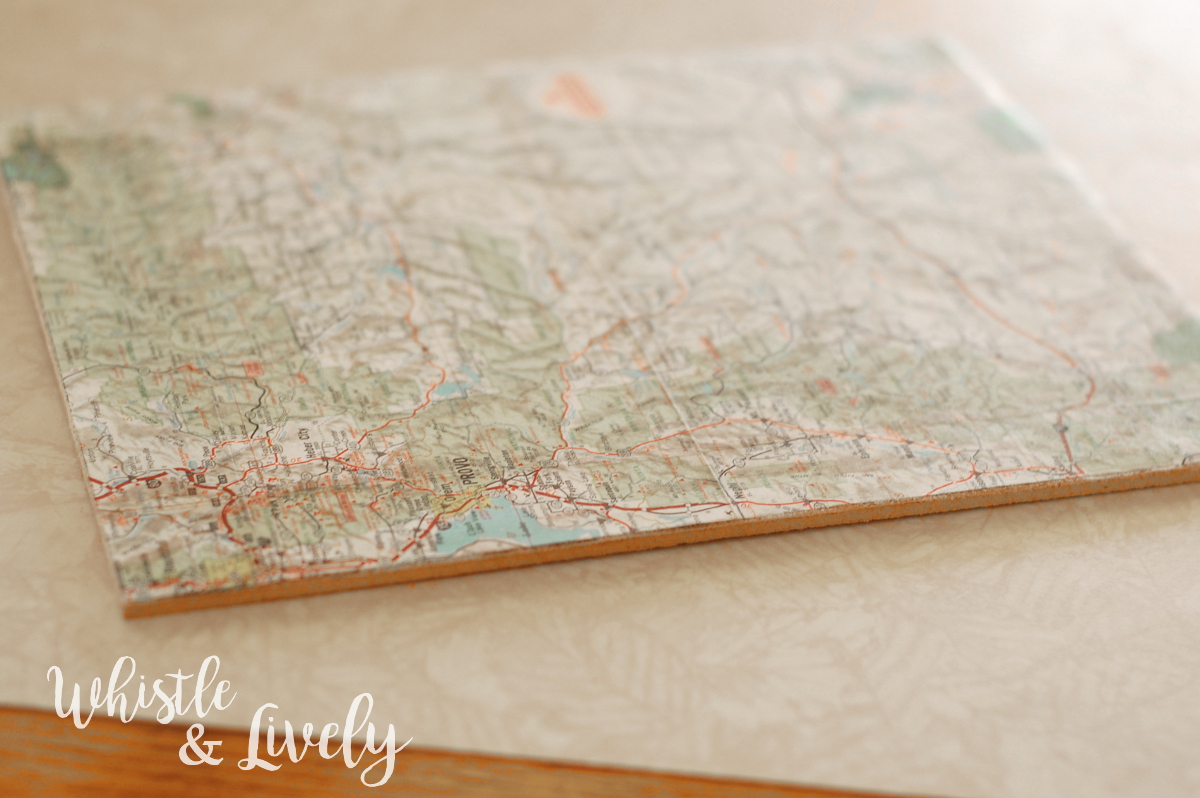
From here, glue the map onto your cork board using some slightly watered-down school glue and a paint brush.
Next, get your swallows. I cut mine using this and this file on my Silhouette, and black cardstock.
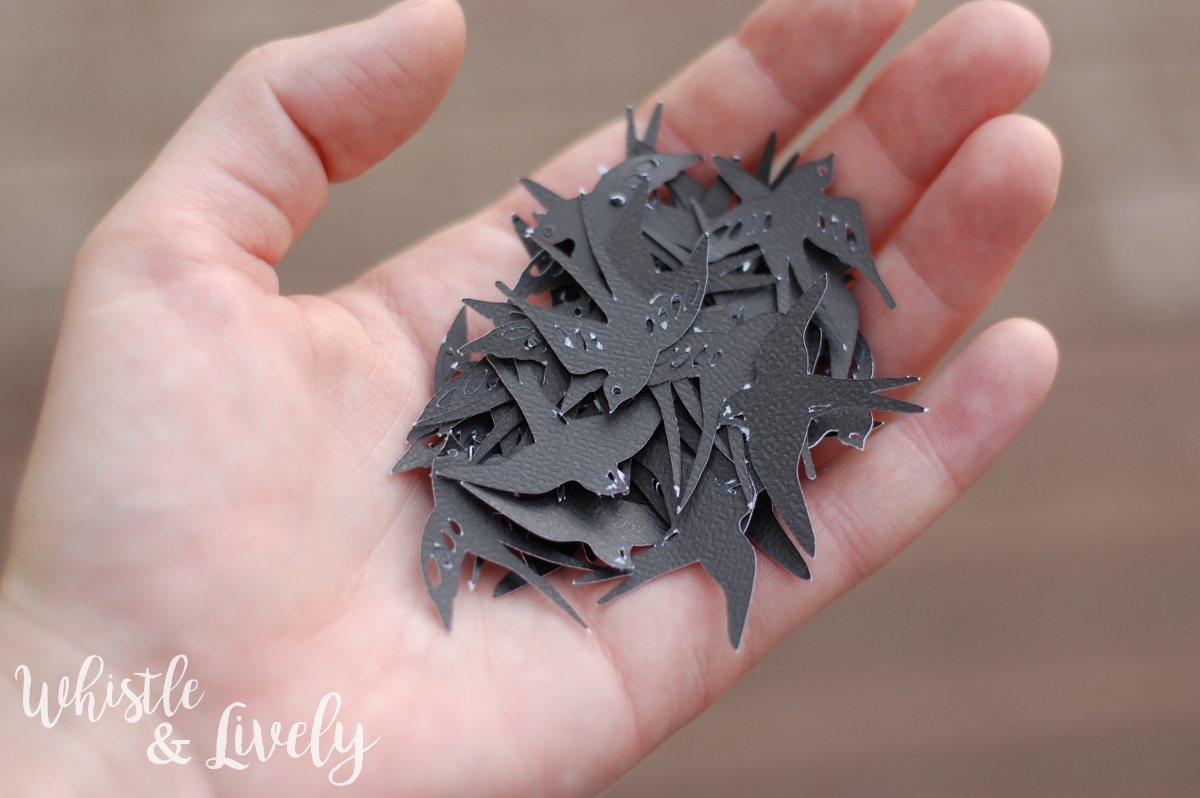
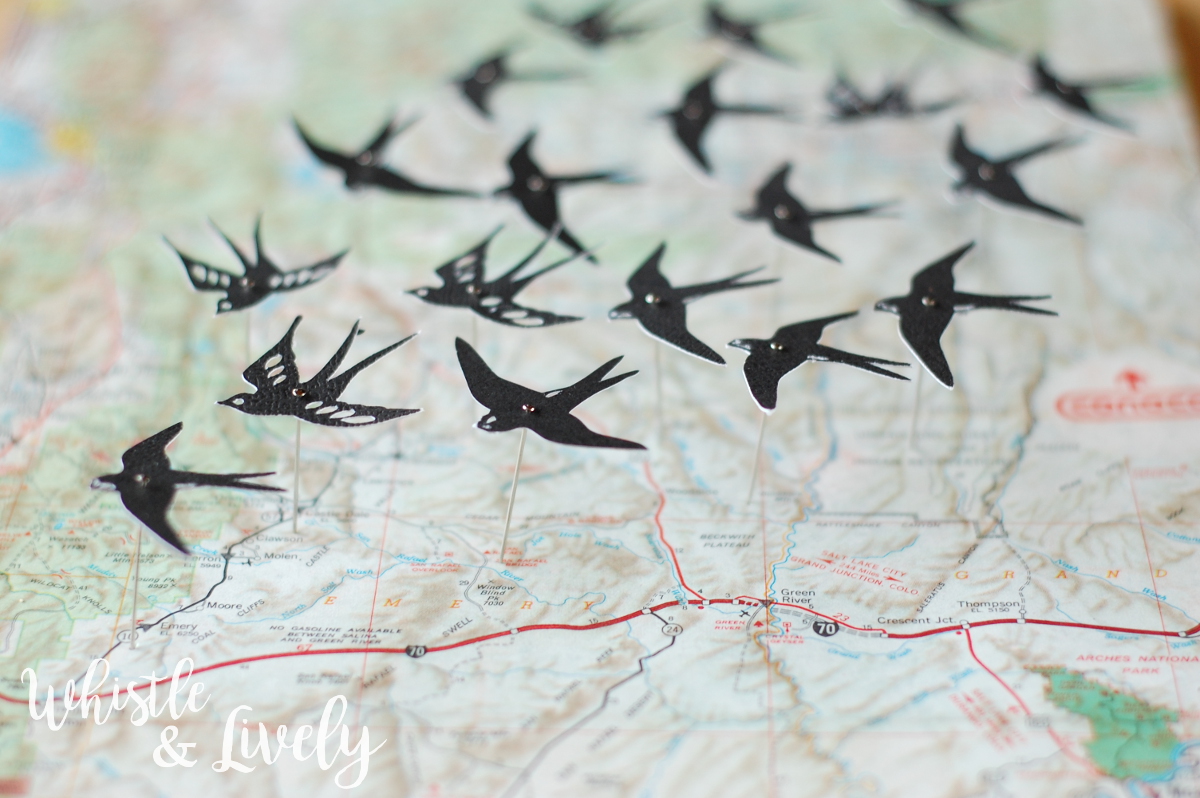
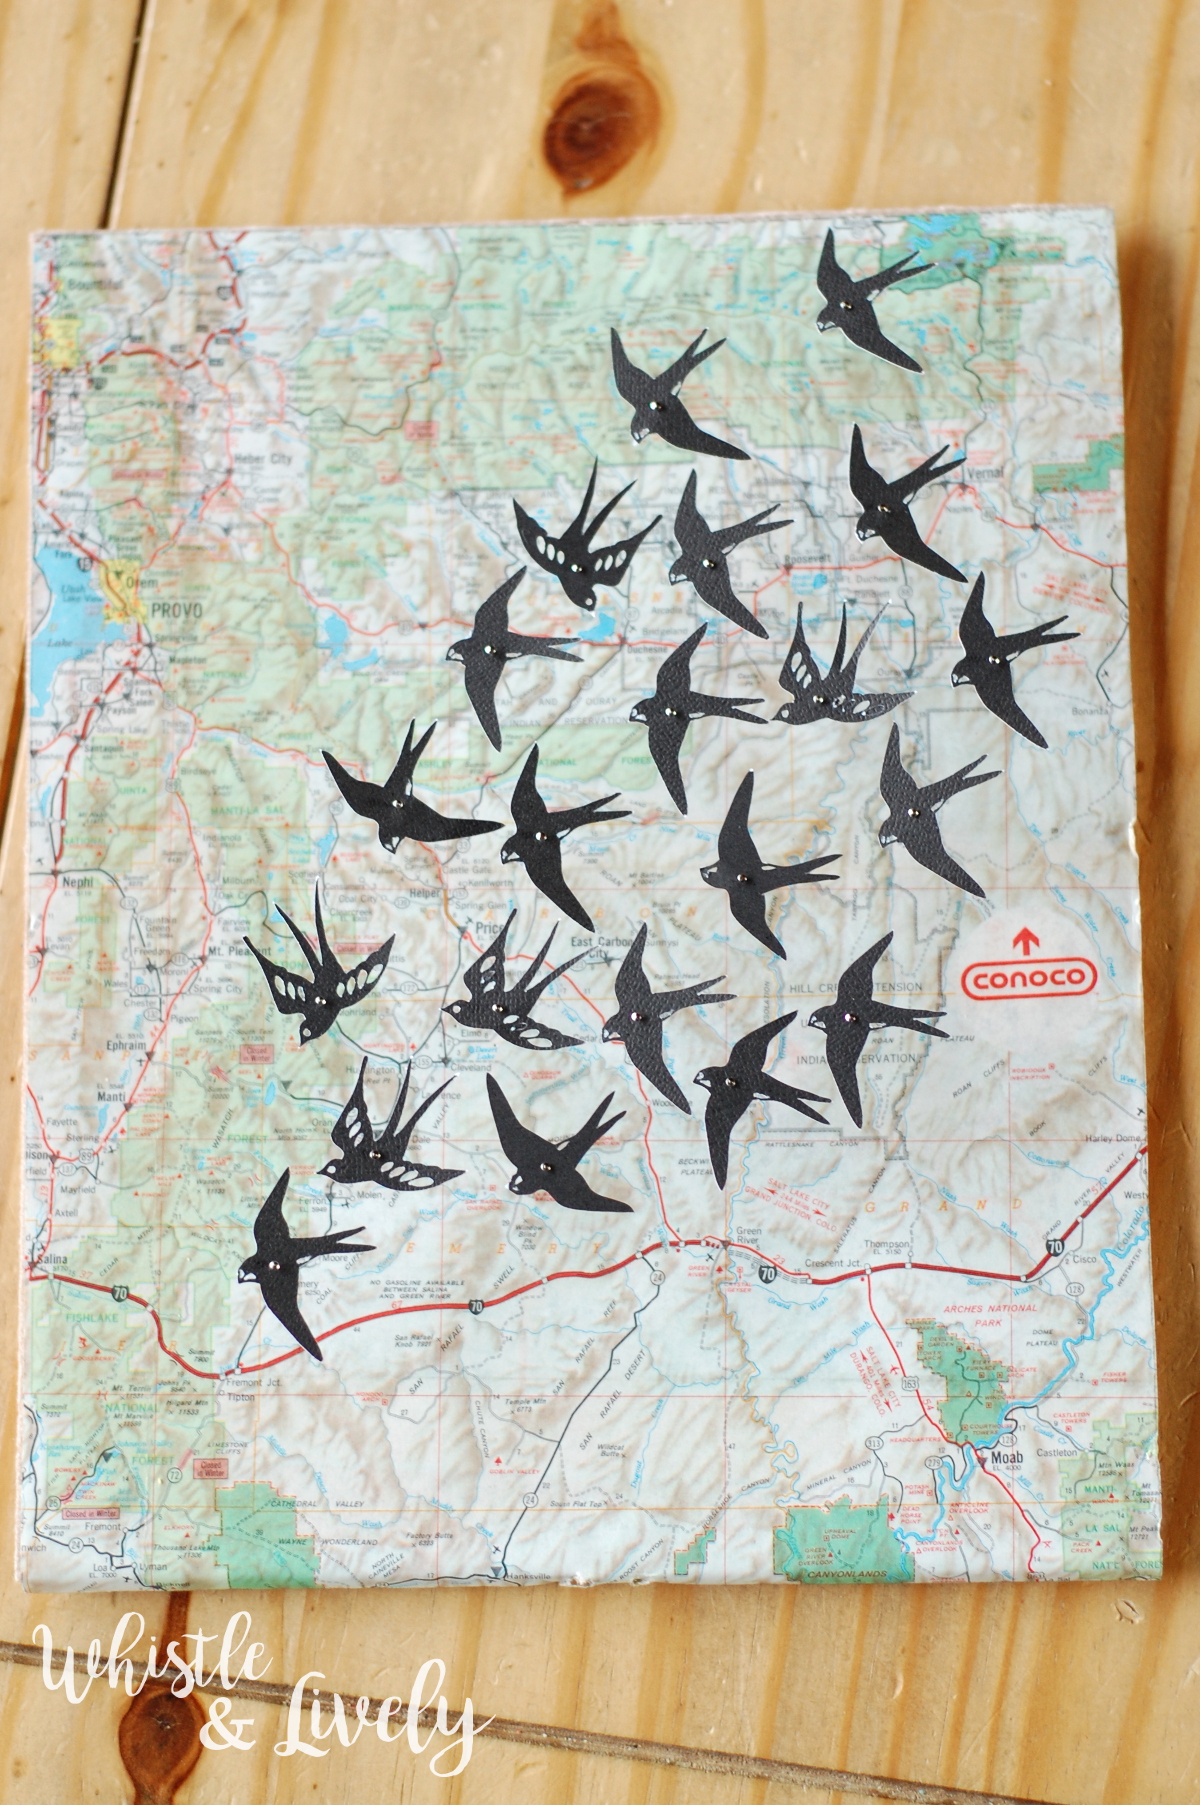
Next, using your pins, push the swallows onto the ends and push the pins into your map cork board in a migration pattern.
Once I pushed the swallows onto the pins, they mostly stayed up near the head, but a few of them starting sliding down a bit. I simply put a dab of white school glue at the top, under the head of the pin and glued the swallows up.
After all your pins are added, you can put your cork and backing in place on your frame.
Isn’t it pretty?
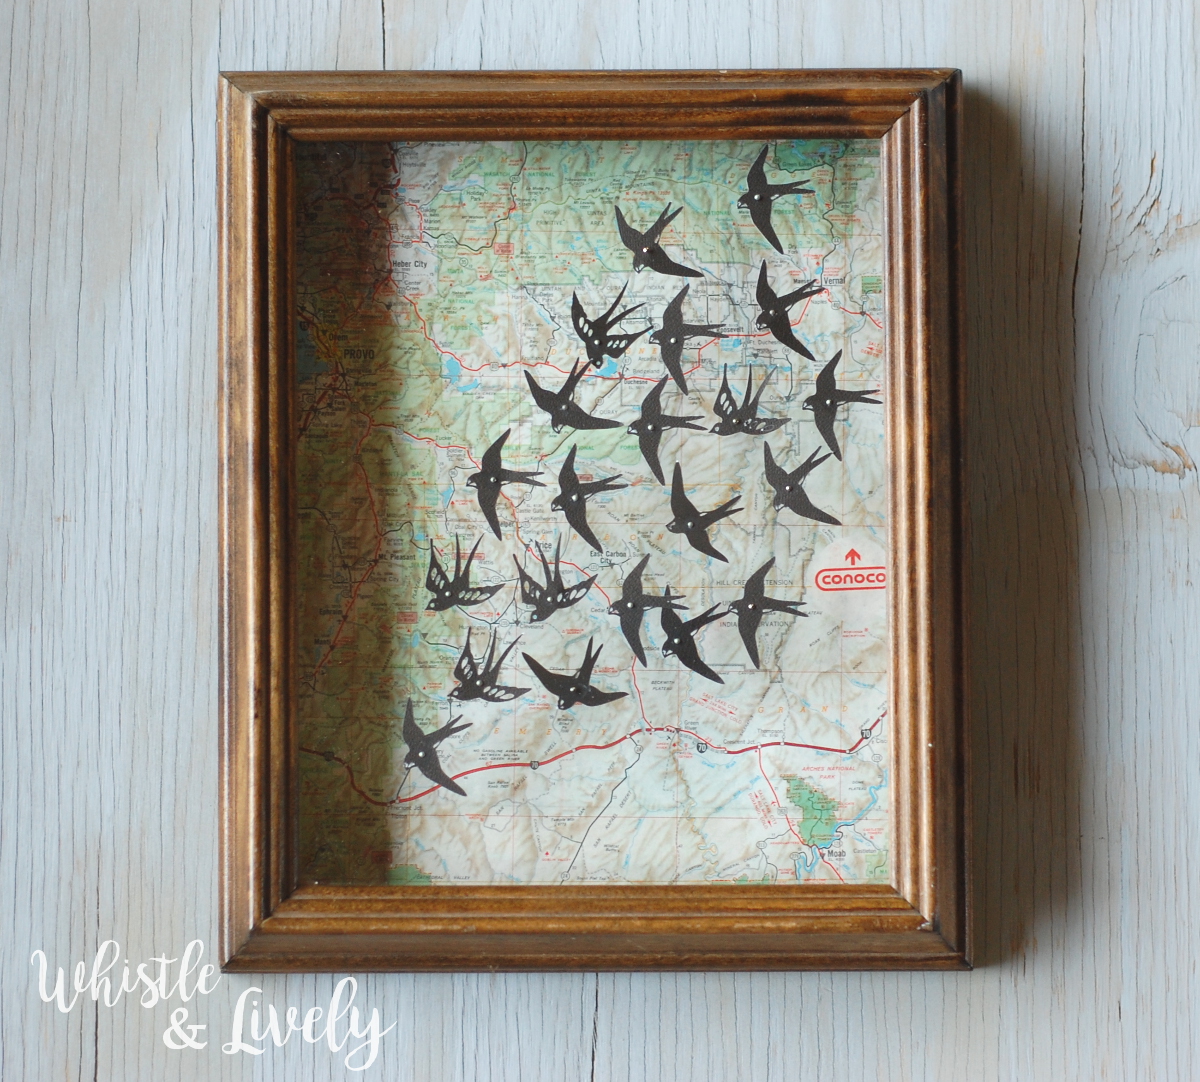
Enjoy your new shadowbox 🙂
Happy crafting, friend!

originally posted at PinkWhen
Leave a Reply