This is a sponsored post written by me on behalf of The Duck Brand. All opinions are 100% mine.
Is it really time to start thinking about back-to-school? This year with be The Boy’s first real year of school: Kindergarten! I already enjoy shopping for school supplies, but this year will be even more fun. We love also doing paper crafts, painting, coloring, and drawing pictures, so it’s a great time to stock up on those items, even if your little ones are still home during the school year (am I the only one with a bucket full of crayons pieces?), Duck Tape is also a fun medium for making your things colorful and fun. This Cereal Box Embroidered Sketch Pad is a great way to recycle an old cereal box, and make your own customized notebook.
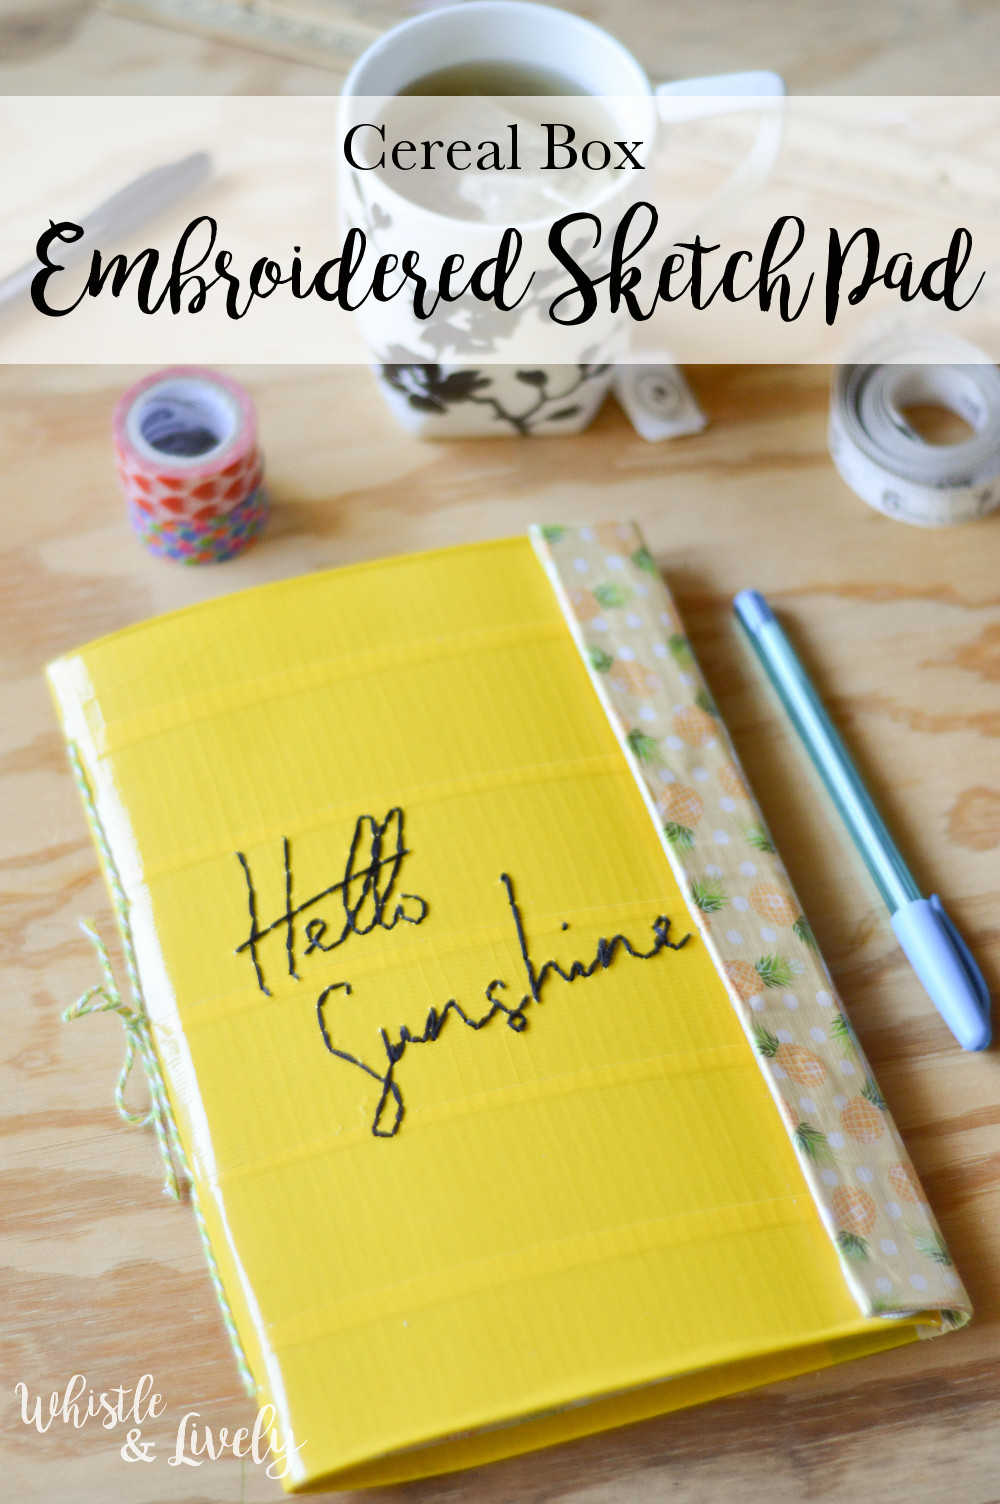
I absolutely love the look of embroidery. It always gives a very beautiful and handmade touch to an item, and because this sketchpad is bound with string, you can keep the sketchpad cover and refill it with paper when you need.
Cereal Box Embroidered Sketch Pad
What you need:(affiliates)
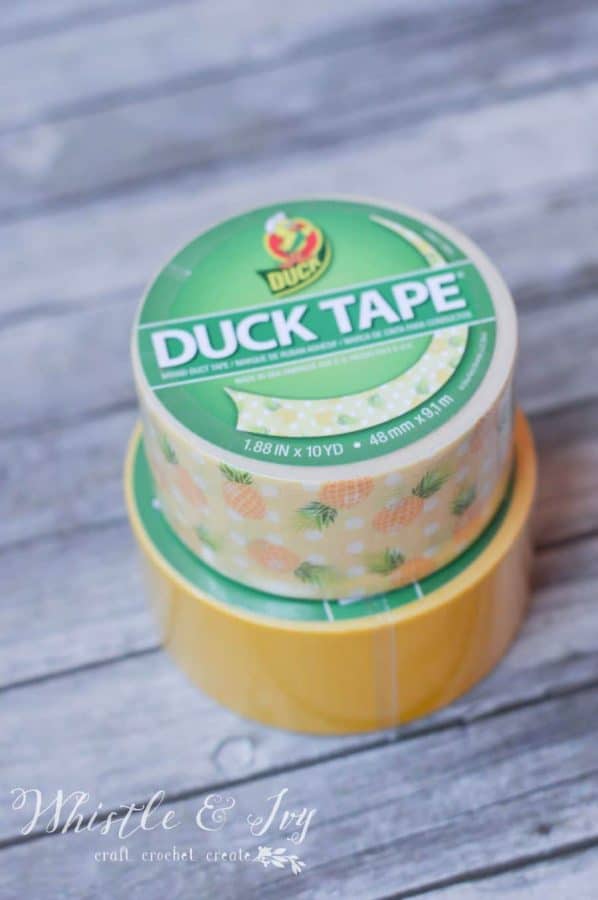
- Duck Tape in 2 colors (I used Yellow and Pineapple Delight)
- One Family-sized Cereal Box
- Several pieces of printer paper (or other paper you would like to use)
- Precision Knife
- Baker’s Twine or other string
- Sewing Needle
- Sharp Yarn Needle (or Large Tapestry Needle)
- Embroidery Floss
- Safety Pin
- Sticky-Back Hook and Loop Fasteners
- Hole Punch
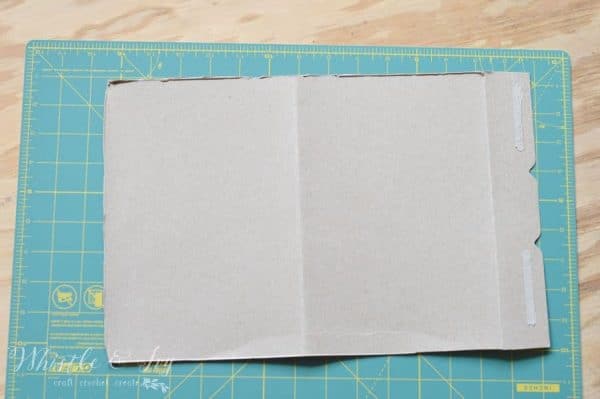
Start by cutting your cereal box. Cut off the front (or back), but leave the top flap attached.
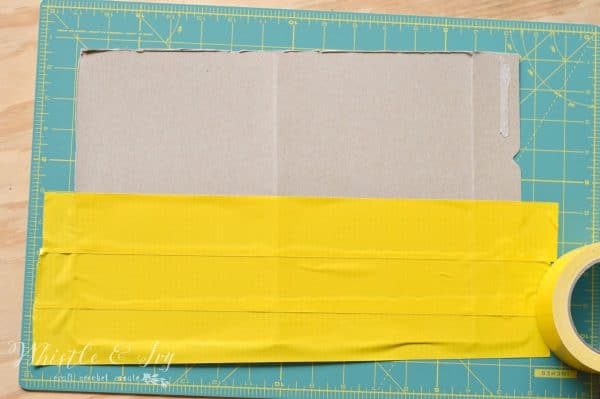
Because the yellow-colored Duck Tape is slightly see-through, the brown cardboard back will be the front of your sketchpad. Start by covering it with strips of Duck Tape. Go over the sides a bit, then you can fold the tape over and have a nice edge. Cut the ends with your precision knife to get a clean cut.
Once the front is covered, turn it over and work on the back, which will be the inside of the notebook. This time, you will need to measure the pieces exactly. Working with your patterned Duck Tape, measure one piece and cut the rest of the pieces to the exact same length.
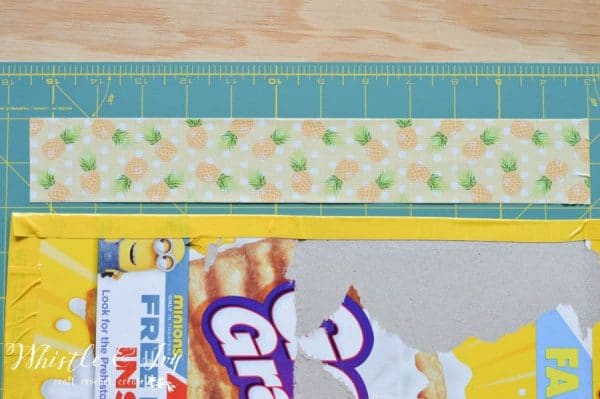 You will need 5 pieces.
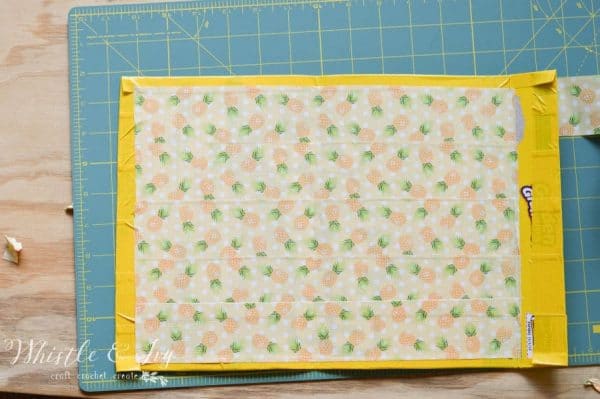
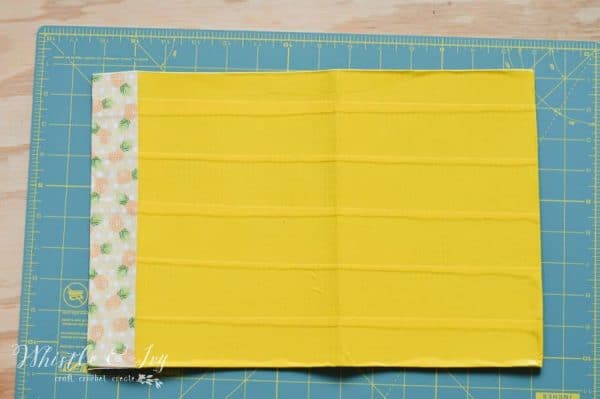
Next, use the pattern Duck Tape to tape the flap — the top edge that you left on when you cut your cereal box. Make sure to tape the outside and the inside.
Now, you need to work on your paper. Unless you have an awl, you can use a hold punch to make your holes. Divide your paper into a few piles, and fold them in half “hamburger style.” Take your hole punch and line it up so only half of the little circle of the punch covers the folded edge. Punch four holes along the paper’s edge.
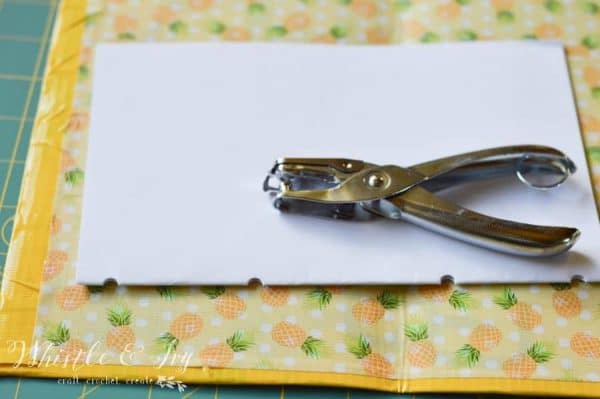
To make sure your holes are lined up on all the paper, mark each space with a pen or marker, then punch the holes the same way. Repeat for each pile of paper you have.
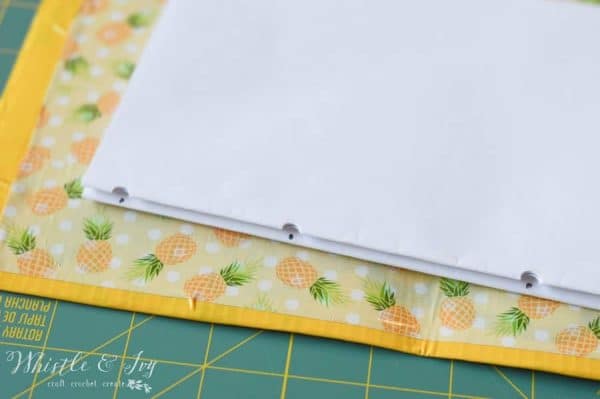
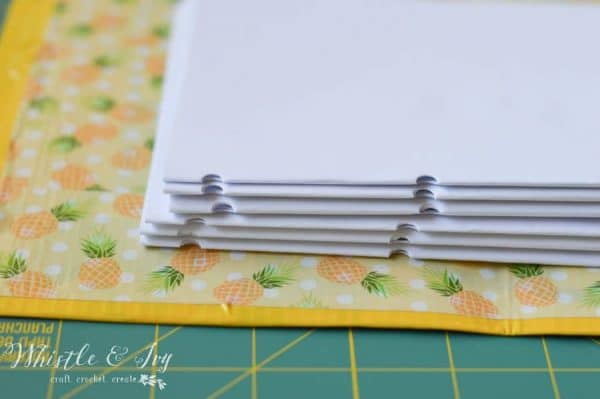
Next, you can bind your sketchpad. Fold your cardboard piece in half (the flap doesn’t count as the length), so you have a book spine. I’ve taken pictures of each step so you can understand how it’s done. Unfold your papers, line them up in a nice pile, and then fold them in half all together. Get a long piece of string (I used baker’s twine), and thread it through your sharp yarn needle. Make your first stitch by going up through the back (you will be making holes in the cover, but going through the holes you made in the paper) through the 2nd hole up from the bottom. Follow the pattern shown in the pictures.
 You should have two end coming out through the back. Tie a sturdy knot. You can either clip your ends, or tie a bow. Now you can start on the embroidery. You can free-hand the design if you want. If not, you can make a simple pattern by printing off some words and poking holes with a pin.
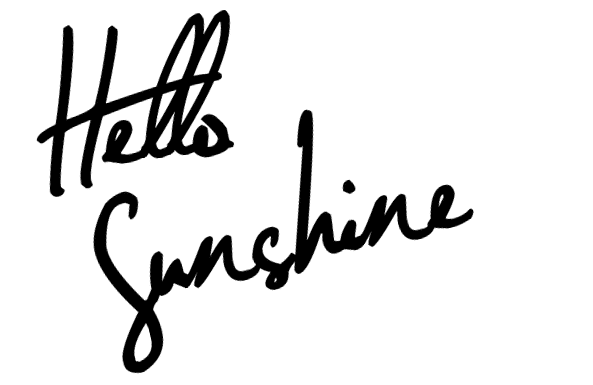
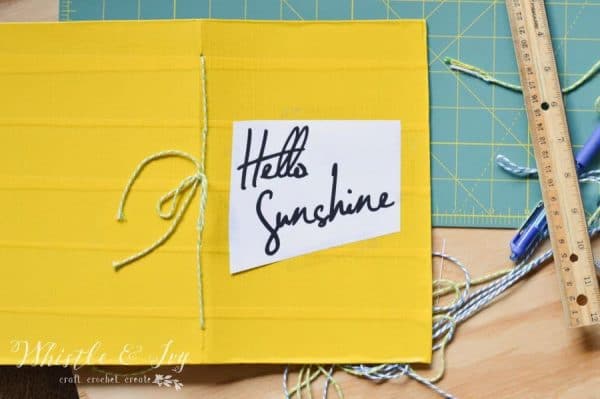
Using your pin, poke small holes along the words. They shouldn’t go all the way through, they just need to make pattern for you to follow when you removed the paper.
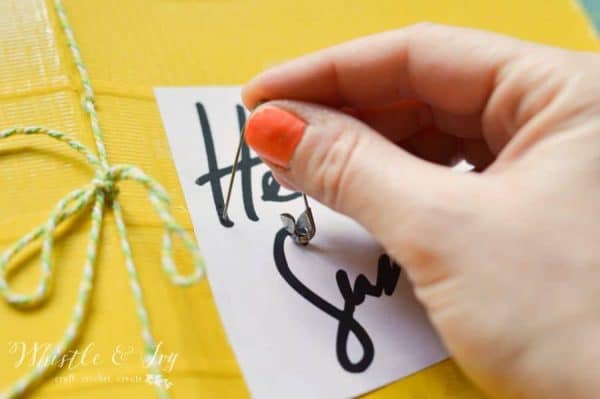
Once you have transferred your pattern, you can start embroidering. It’s not super difficult to get the needle through the cardboard and Duck Tape, but it can wear on your fingers after a while, so I do recommend using a thimble.
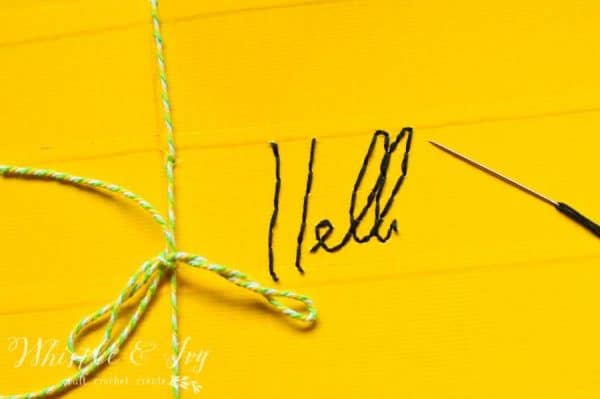
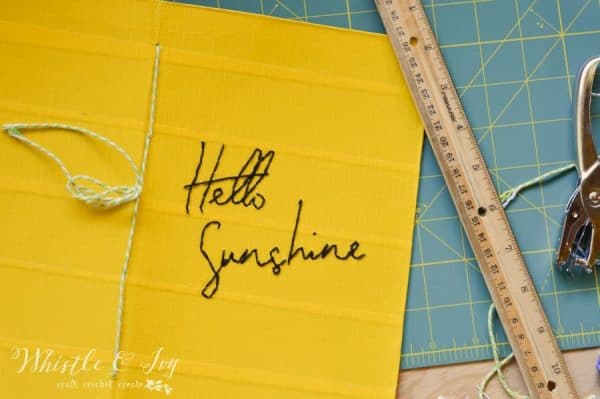
To finish your sketchpad, apply the sticky hook and loop fasteners (I used industrial strength).
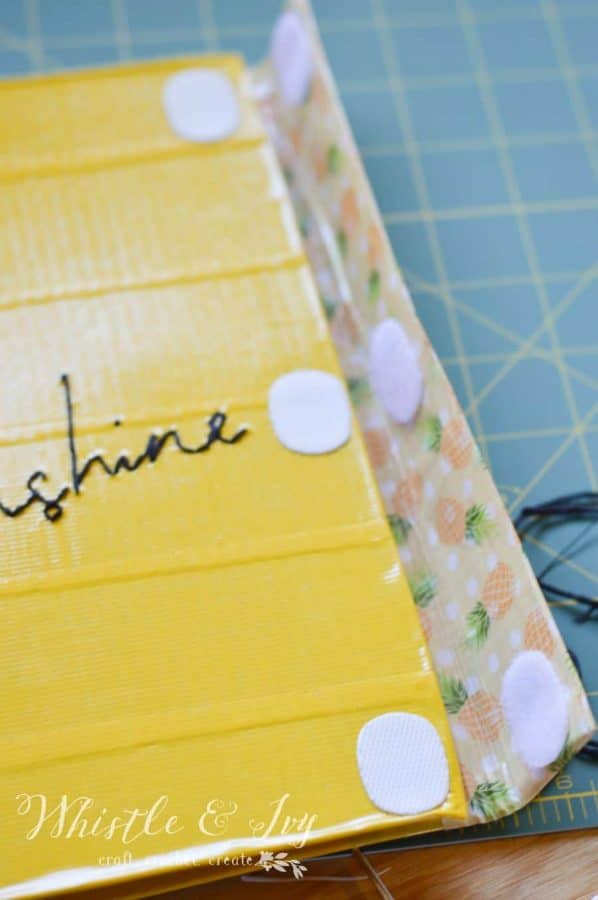
The easiest method is to peel and place the rough side on the notebook. Then, peel off the soft side and place it down (sticky side up) on top of the rough side, so the two pieces are fastened to each other. Close the notebook so the sticky back of the soft side sticks to the notebook. This insures that the hook and loops will line up perfectly.
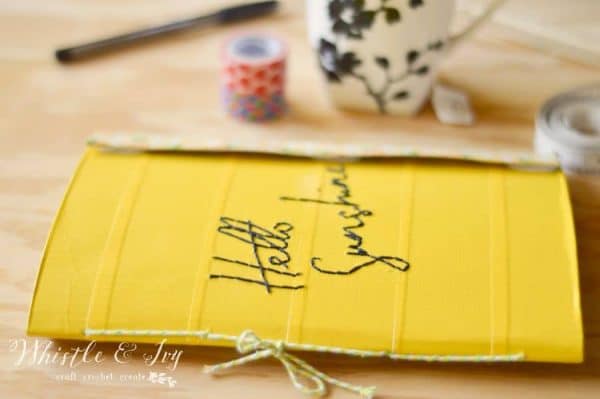
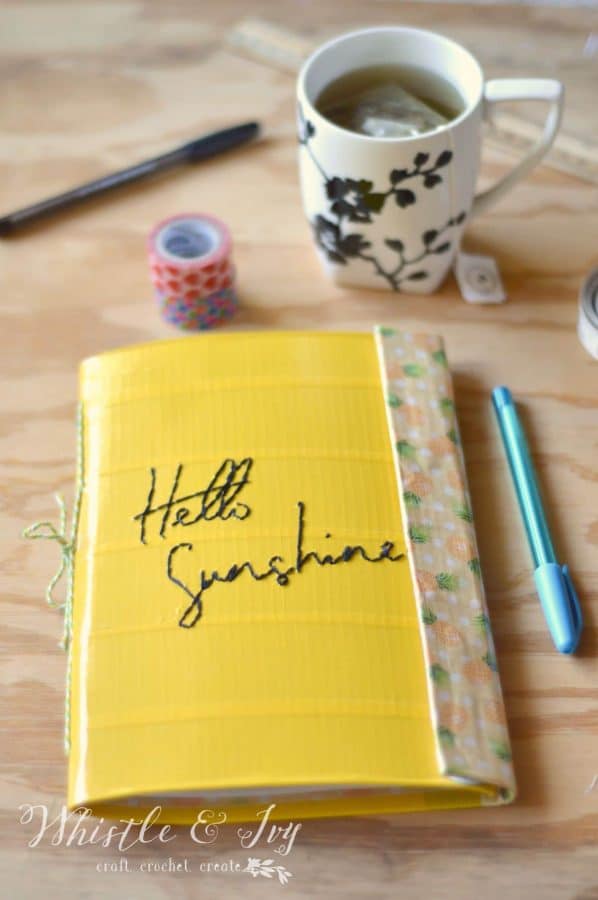
I love my new sketchpad! It’s bright and fun. And I do love that pretty pineapple print, isn’t it fantastic?


Leave a Reply