This is a sponsored post written by me on behalf of I Love To Create, Tulip Paints and Blueprint Social. All opinions are 100% my own.
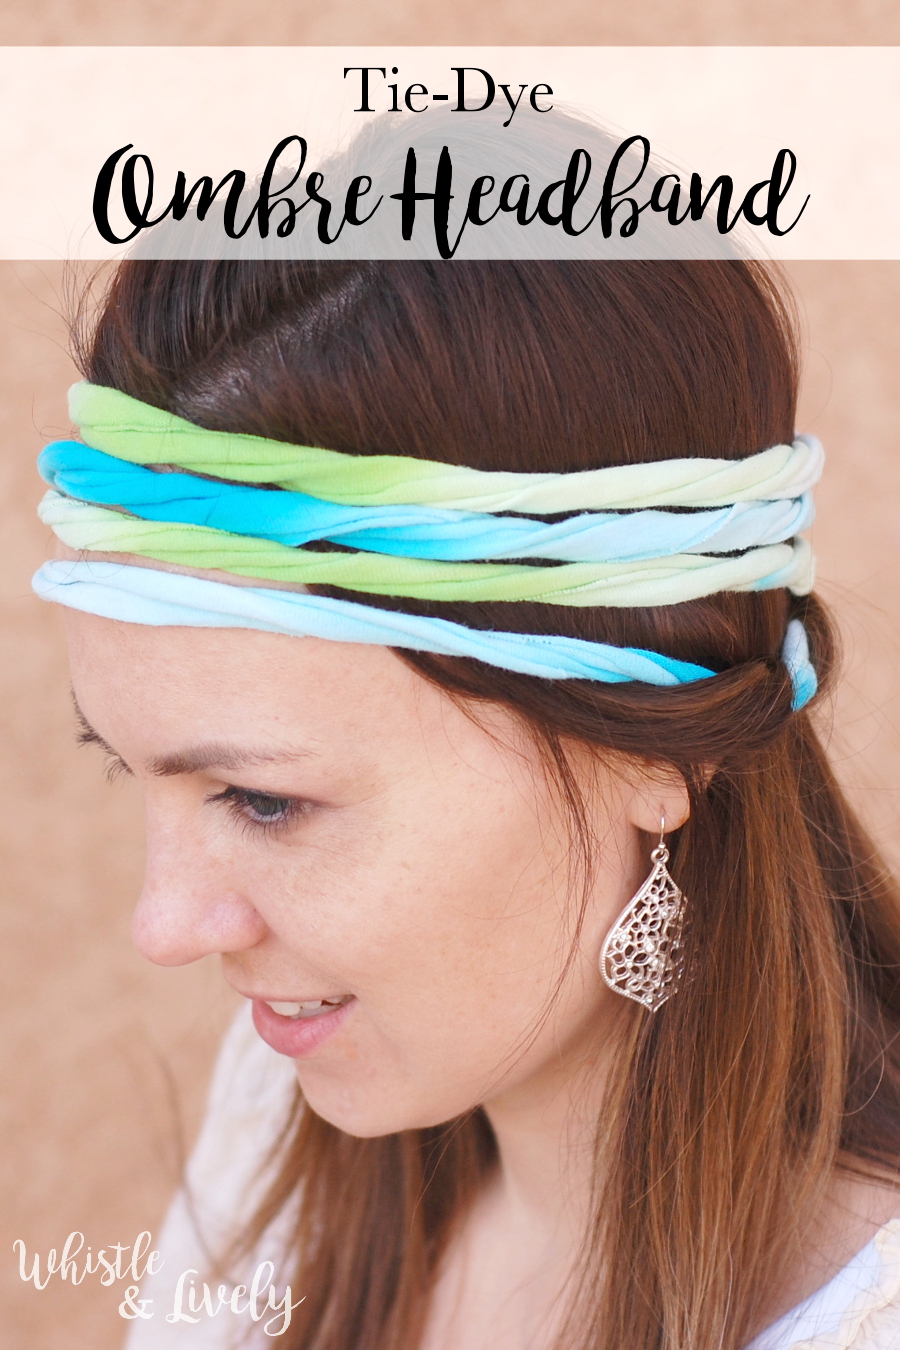
Last month for our church girl’s camp, we tie-dyed bandanas for the girls to wear. We probably should have crocheted mittens because it snowed on us! Regardless, we have fun camping and we had fun tie-dyeing! I had completed forgotten how fun it is to tie dye. It’s also fun to try the dye on other mediums, besides shirts. At our house, we seem to have an extreme collection of random t-shirts, so I cut one of up and made this cute ombre tie-dye headband.
This bright and fun project is simple and would be a great project for older kids.
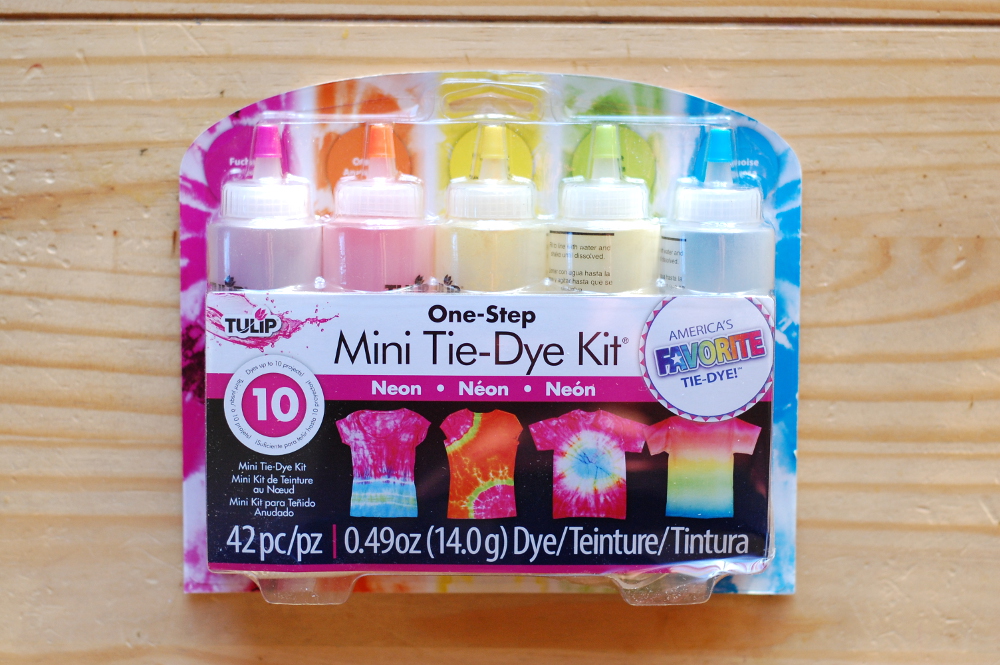
It’s also a recycling project, which I love. This mini tie-dye kit is perfect for little projects like this!
Start with a white, size L men’s t-shirt. You are just using the bottom, so it doesn’t need to be all white.
Cut off the hem, then cut a 4” strip. Don’t cut up the side, just cut straight across the bottom of your shirt.
Then, cut the end of your strip into smaller strips, about 1” apart. Don’t cut it all the way across, leave a few inches, which will be where you sew on your buttons later.

Now comes the fun part: color!
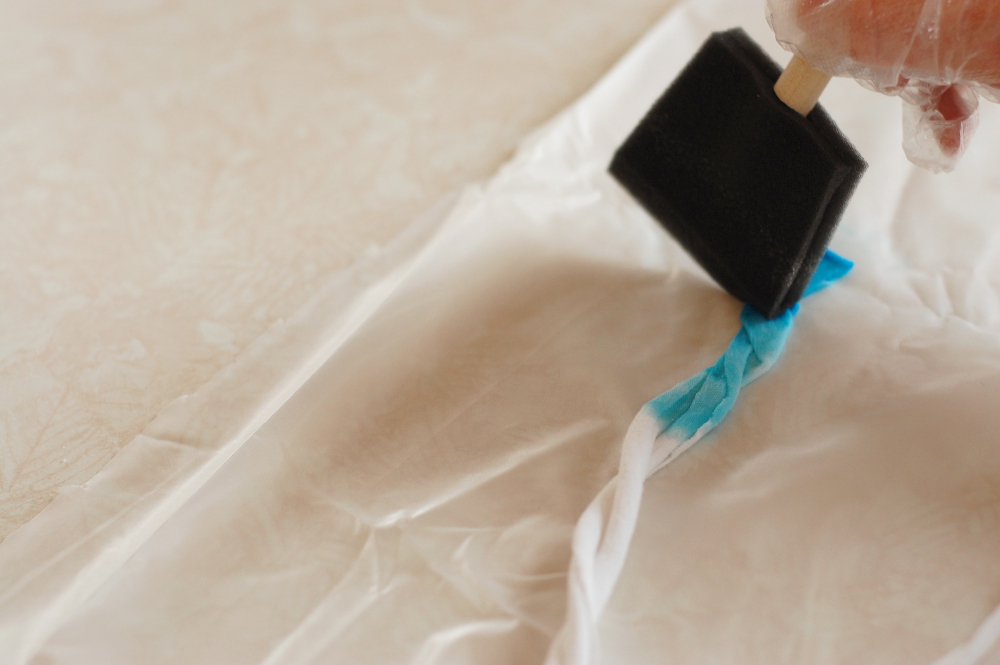
Lay your head wrap on a piece of tarp or plastic. Make sure you are prepared for a mess (especially if you are crafting with little ones). I twisted each of my strands, because that is how I wanted to wear it when it was done.
Prepare a small bowl of water, a foam brush and your dye. Utilize the gloves that come with the kit.
To make the ombre coloring, start by dripping dye at the end of one of your strands.

Moisten your brush, then dab it on the painted part of your fabric, then moving up, continue to dab it to get the level of saturation that you would like.
Continue this technique for your other strands. I used turquoise for two, and lime green for the other two.
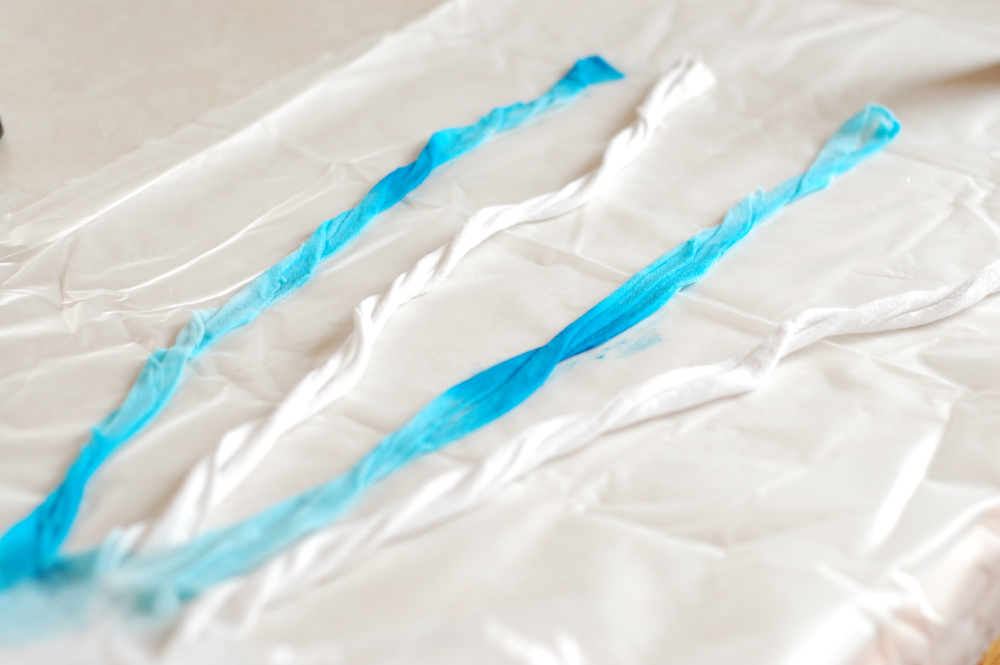
When you are done coloring, wrap up your project in plastic and let the dye set for about 8 hours.
Then, throw it in the washer (with like colors or by itself). I also machine dried it and it came out perfect.
To finished up, fold the edges over the sew on two buttons (a bit lazy, I know! Feel free to machine sew your edge to give it a cleaner look).

For more creative inspiration, follow I Love To Create on Facebook, Twitter, Pinterest and on their Blog.
|
|
Happy crafting!

Leave a Reply