I have recently discovered the joy of embroidery. My mom taught me to do counting cross-stitch as a young girl, and I did enjoy that, but I love having the pattern on the fabric. It cuts down on frustration that comes from miscounting! With my dad’s birthday coming up, I really wanted to make a bee-themed embroidery for him. My dad is a therapist who helps people overcome their substance addictions, but in his free time he has a farm with animals, an orchard, a vineyard and several hives of bees. It’s very cool watching him take care of them, and it’s double-cool having access to delicious raw honey. So this Beekeeping It Real Embroidery Pattern is for my dad!
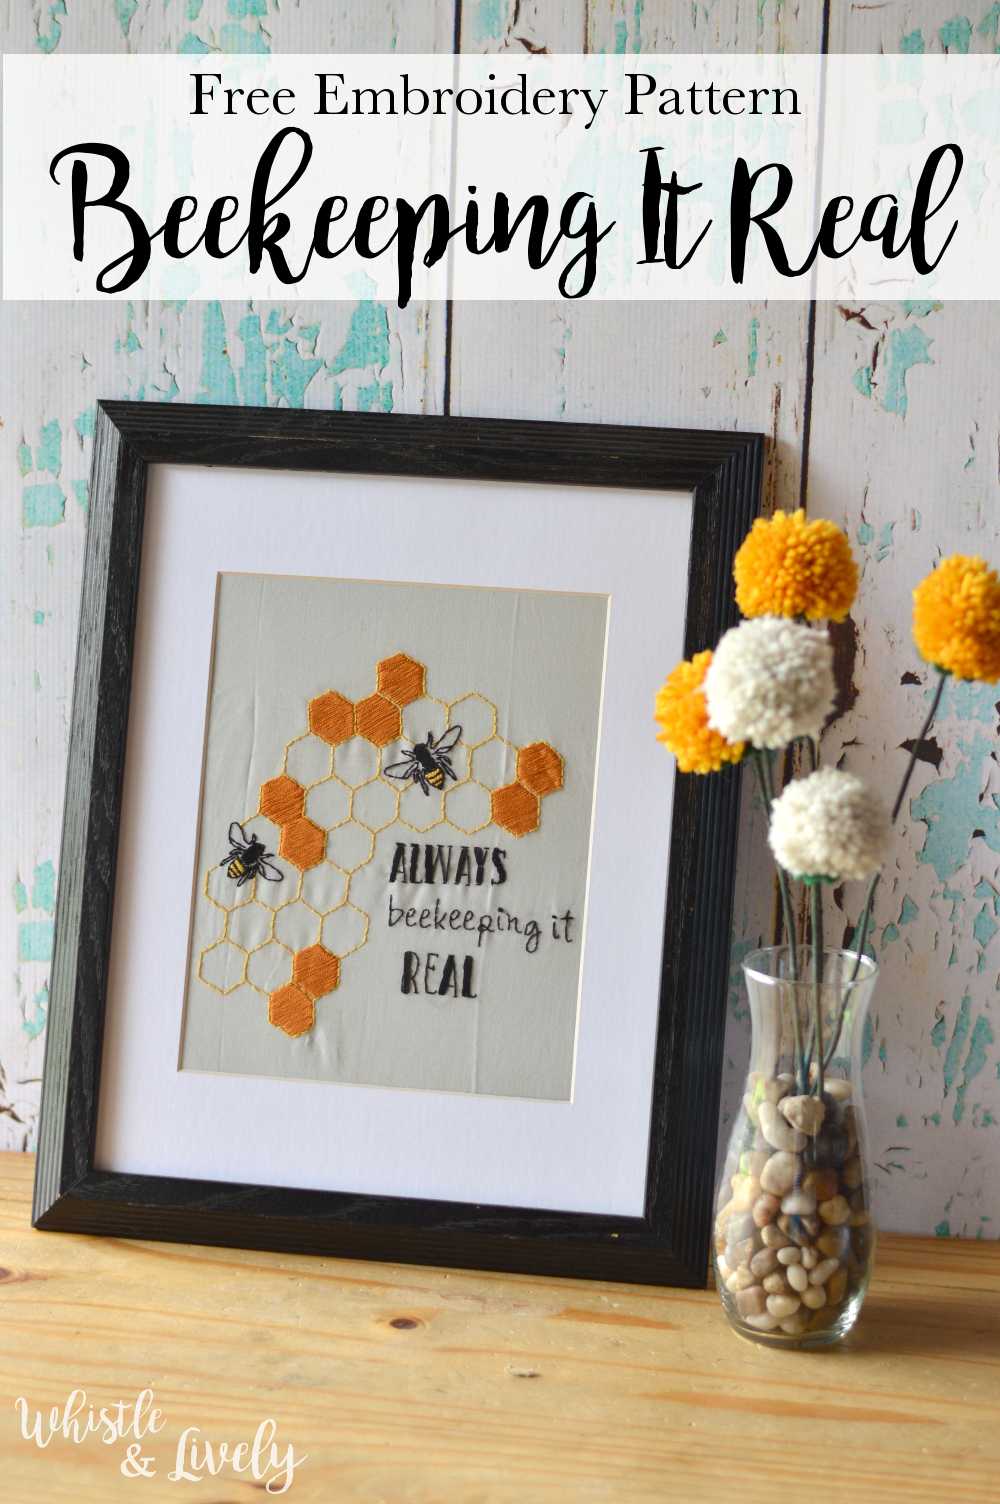
Now, you should know that I have ZERO graphic design skills, so you would laugh out loud if you saw my “creative process” for this pattern. The bees were particularly tricky to create, but I am pretty excited that my hard work turned into a pattern that actually worked.
Also, I should preface this by repeating this is my first embroidery pattern, so please be gentle in your comments and please have patience! If there is something that I should include, please let me know!
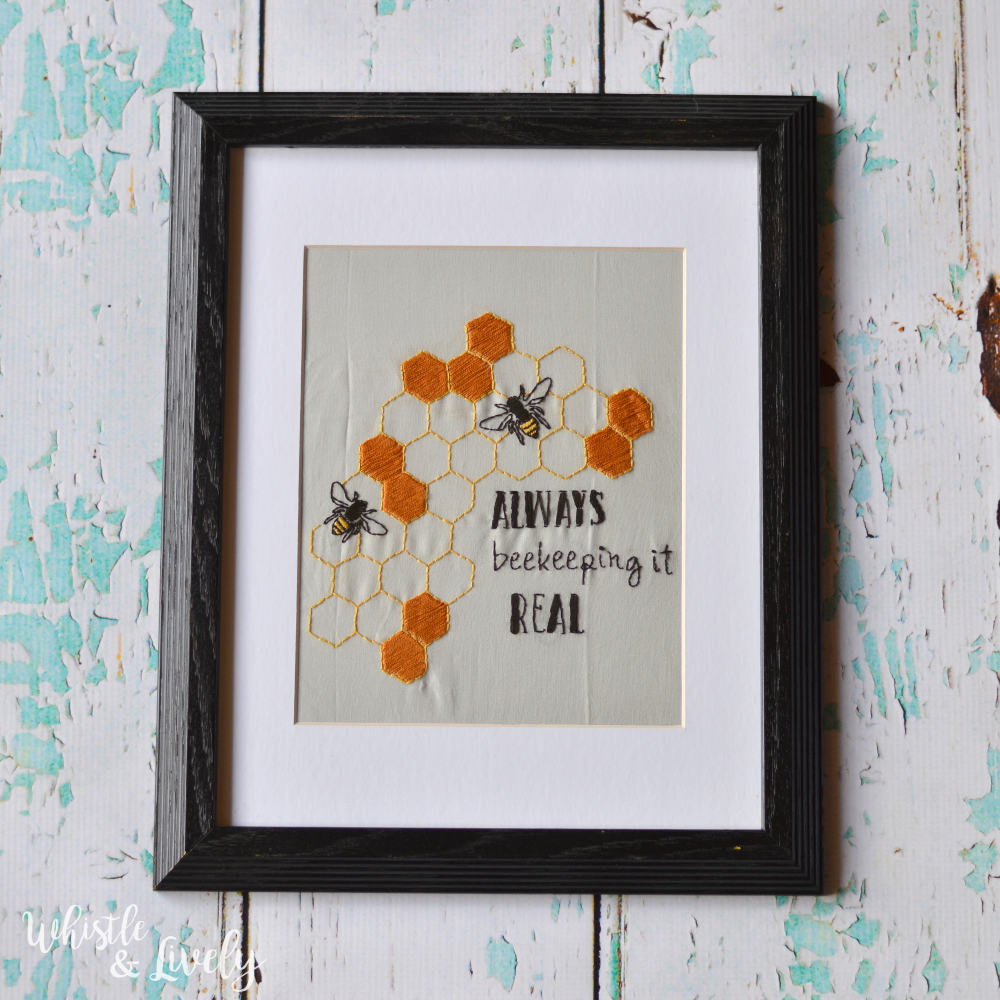
Always Beekeeping It Real Embroidery Pattern
Please remember: You are free to use this pattern to make and sell, but do not republish or distribute this pattern in any way. DO NOT use my photos in your listings. Please do share my blog links! It’s a quick and FREE way of supporting Whistle and Ivy and more free crochet patterns in the future.
What you need:
– 3 colors of floss: yellow, amber and black (one of each is enough)
– Plain Cotton or Linen fabric
– Pencil
Begin by downloading and printing the free embroidery pattern here: >>Beekeeping It Real Embroidery Pattern
You can transfer the patten in your favorite method, but I have decided that I love using a bright window and a regular no.2 pencil.
Using a delicate-hold tape like washi tape, tape up your pattern in the window.
Then, tape your fabric on top of the pattern. Be sure it’s taped on all sides and is taut, so it doesn’t move while you are transferring the pattern.
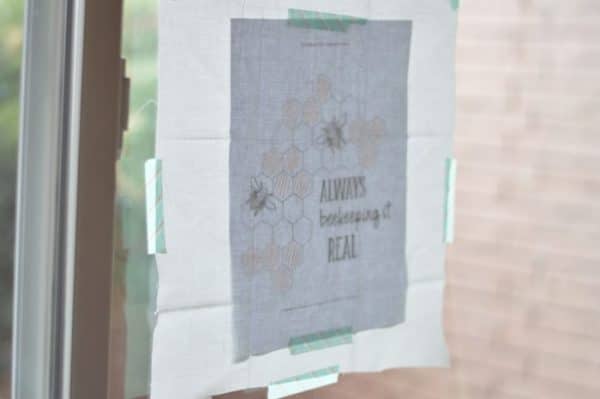
From here, you should be able to see your pattern clearly enough to trace it onto you fabric. You still need to treat it gingerly, the pencil can be wiped away and fade if you handle it too much.
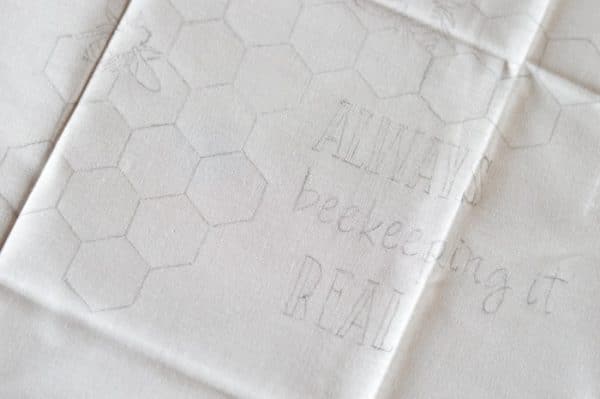
This pattern requires only backstitches and satin stitches, which are very quite simple. Backstitch all the outlines on the bees, honeycomb and letters using 2 threads. Use three threads to work the satin stitch across the filled honeycombs, and to fill in the letters.
My letters turned out a bit weird. I couldn’t figure out if a long stitch to fill it in would be better, but I settled on a diagonal satin stitch, which looks much better.
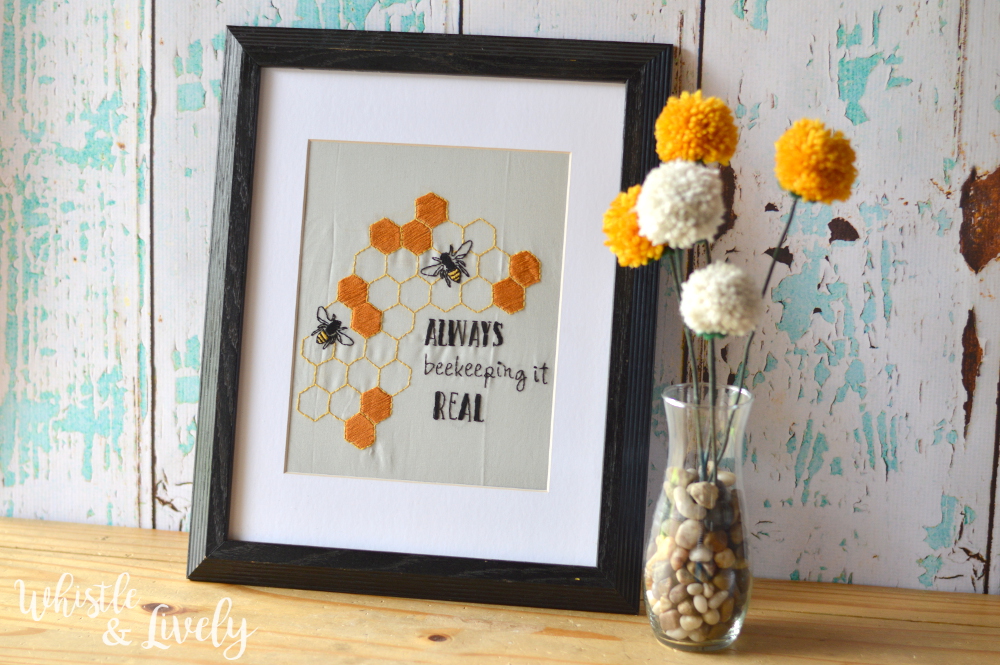
It turned out fabulous! That is the wonderful thing about embroidery, it’s almost impossible to ruin.
|
|
Love this and the reason for you doing it for your dad.
Thank you Trudy 🙂
So adorable, love it!!!!
Thank you!
I love it! You did a great job. I would never of guessed it was your first embroidery project!
Thank you! I have dabbled a bit in embroidery, but this is my first pattern. Thank you for your kind words!
I love this project of yours. My name is Debra and it means Industrial Bee! The project turned out beautifully.
How sweet! Thank you!
Thanks for this awesome pattern! Currently working on this for a gift.
Thank you! You are welcome!
Love your pattern, I’m getting ready to stitch this, been a beekeeper since I retired 3 years ago, they are fascinating! Thank you again.
You are very welcome! How fun!