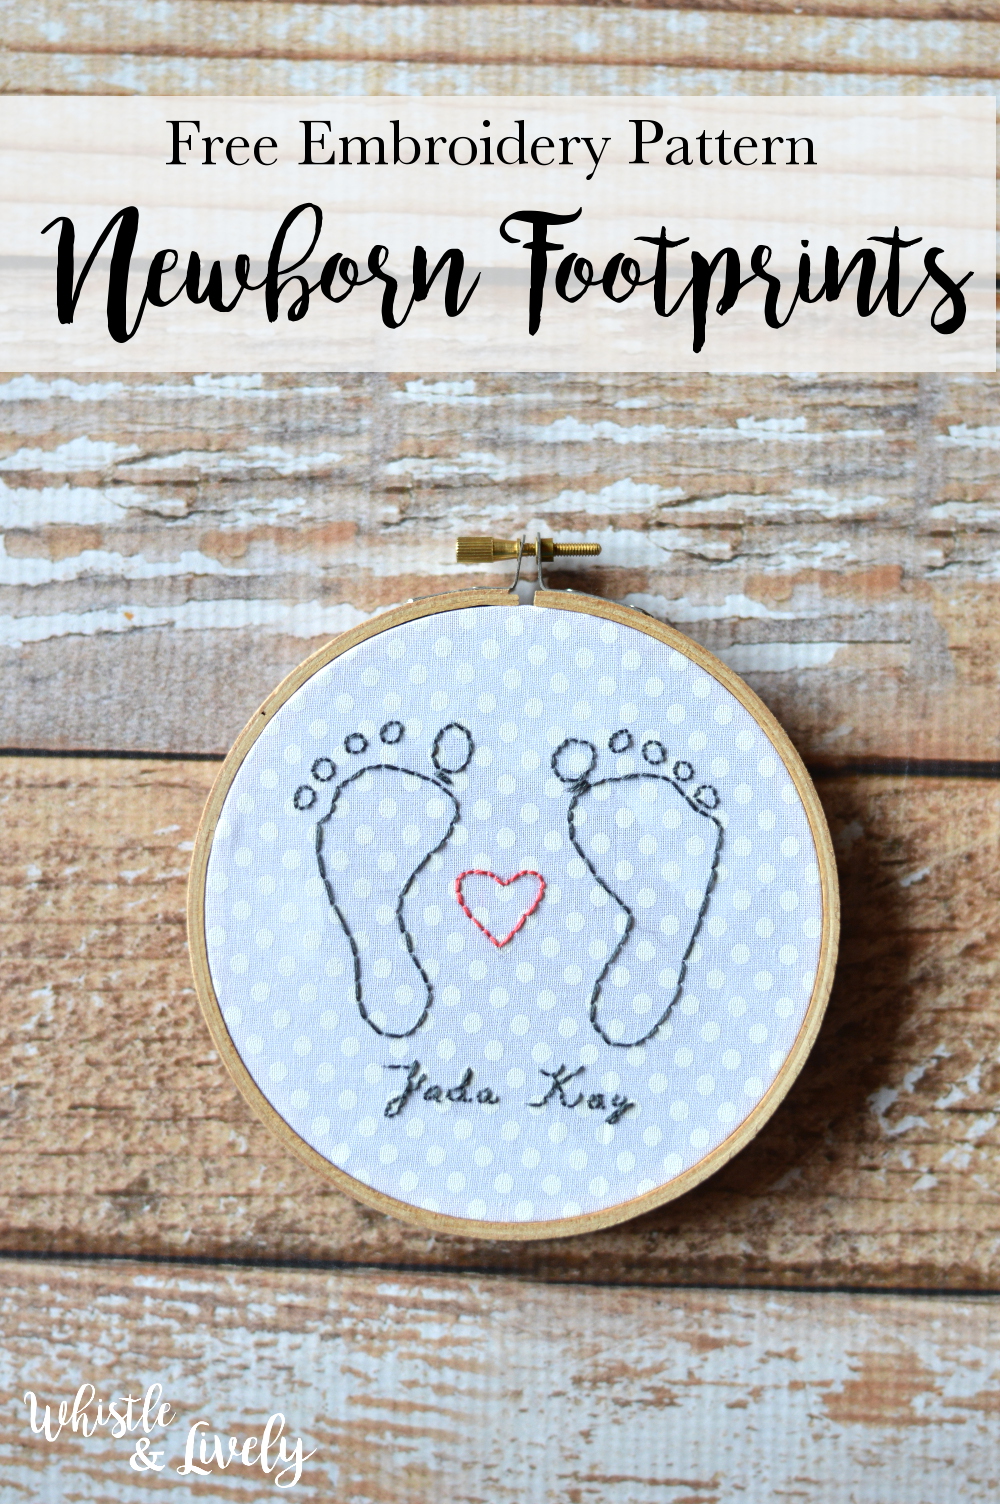
Last month I had the privilege of being together with all three of my sisters at the same time! We all live rather far from each other, so it was a special time to be together. It was also extra special because we were together celebrating a new baby in the family! I wanted to make something for the baby, but decided against crocheting a gift. This is mostly because they live in a very hot climate, but also I had given her many crocheted items for her first baby, and I assumed if she wanted to, she could reuse them for her second (they are both girls). I had an idea for a baby footprint embroidery, and I thought it would be a very special keepsake for her. It turned out so cute, and this little project took less than an hour!
What you need: (affiliate links)
–Cotton or Linen Fabric
–5″ Embroidery Hoop
–Embroidery Thread in 2 colors
-Hospital Footprint cards (or photo of footprint)
-Printer paper
-Pencil
–Hot Glue Gun
Start with the footprint. My sister texted me a photo of her baby’s footprints next to a ruler so I could scale the photo properly. You can print it just like this once you have sized it, or you can change it around a bit in Photoshop to use up less printer ink. I use a free photo editing software called Gimp.
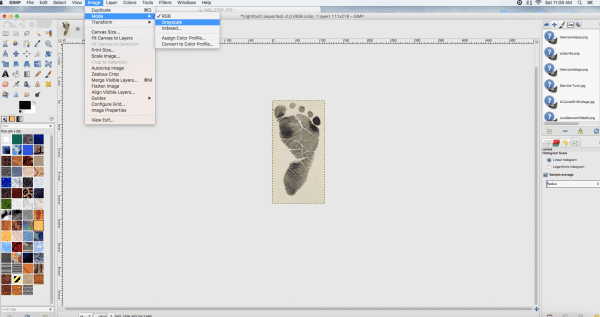
Start by grayscaling your photo (removing color). Go to Image > Mode> Grayscale (I made mine into separate photos, one for each foot, and cropped them very close to the foot print).
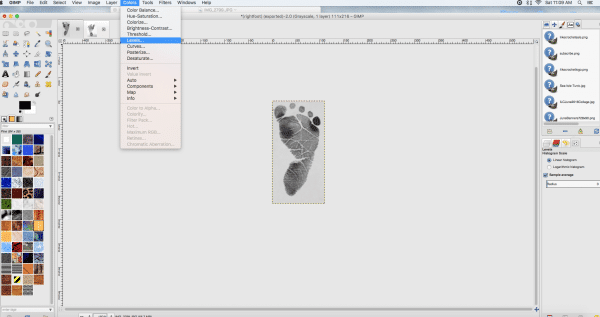
So I wasn’t printing lots of gray, I adjusted the level to make the background white. Go to Color > Levels.
Then, move the gray arrow over to the left a bit, until the white looks white. You can also bring the white arrow over to the left as well to make it brighter. If you need to, drag the black arrow to the right, if your footprint needs to be darker.
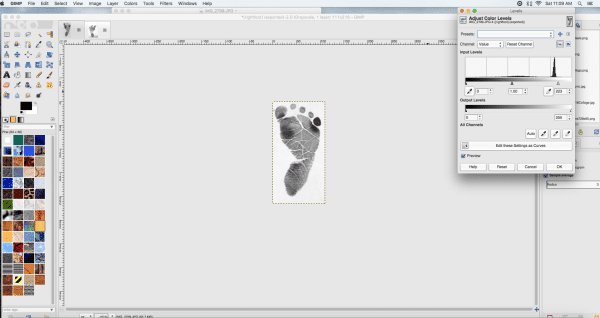
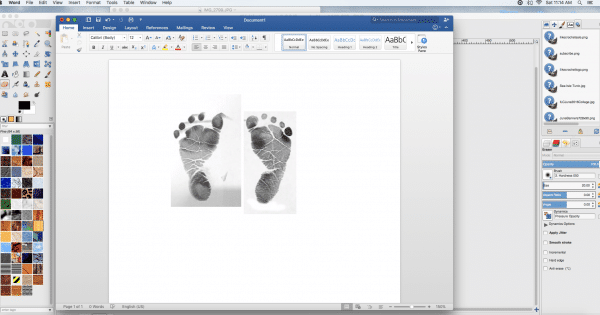
Repeat these steps for the other footprint. Next, I simply added both photos to a word document, dragged them so they were even with each other, and printed. I did the feet and the words separate.
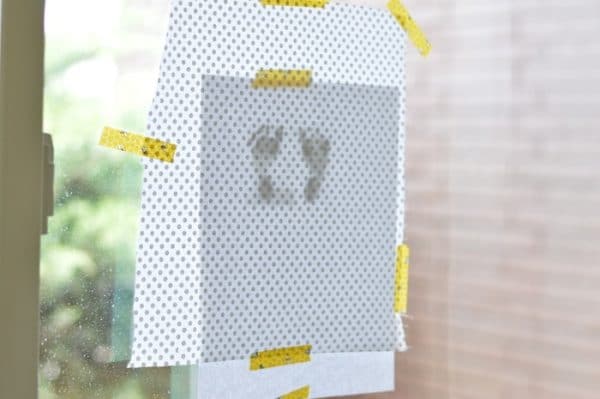
Once your footprints are printed, tape them up to a very bright window for tracing onto your fabric. Tape the paper to the window first, then separately tape your cloth over the paper. Use a pencil to trace the online of the footprints in the middle of your fabric.
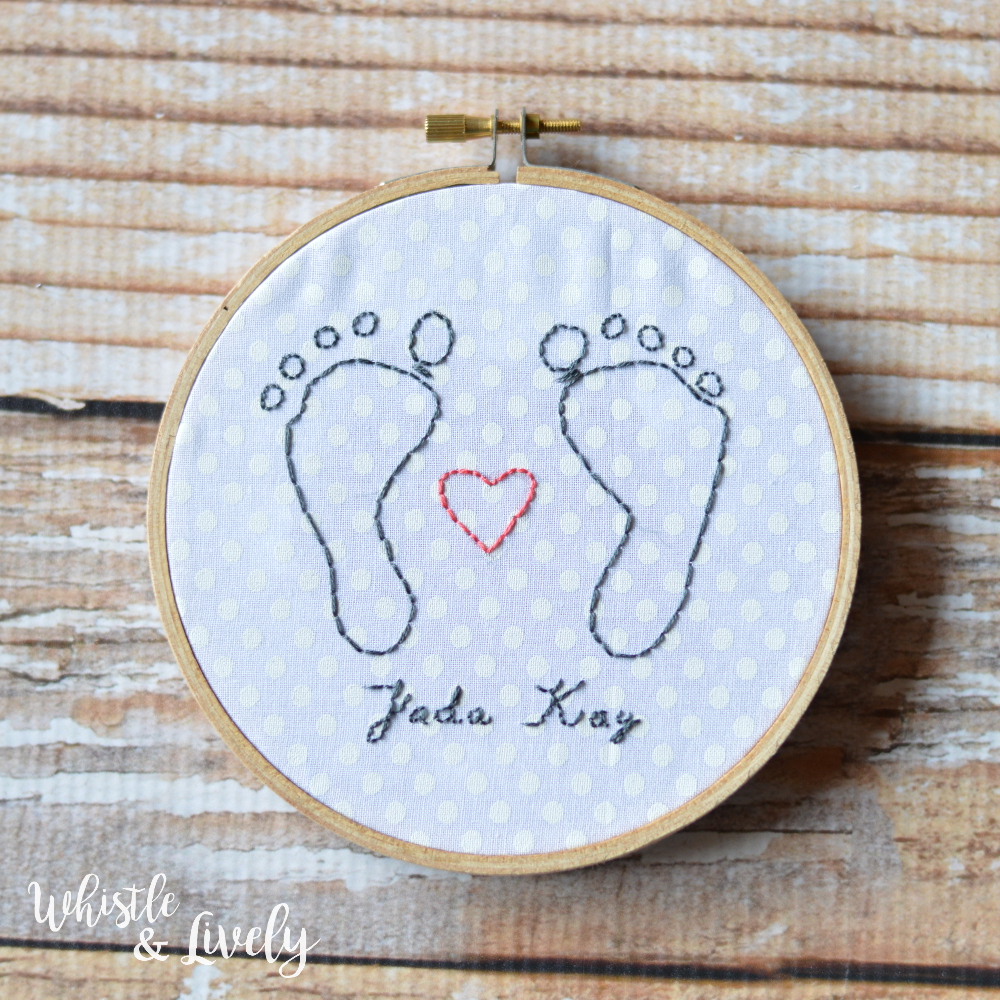
From here, you can do a simple backstitch across your lines. I freehanded the heart in between the feet (you can draw with pencil first), and then I printed the name, and traced it to the bottom of the embroidered feet using the same window technique.
Finish by pulling your fabric tight as possible in the hoop, trimming the ends, and hot gluing it to the hoop.
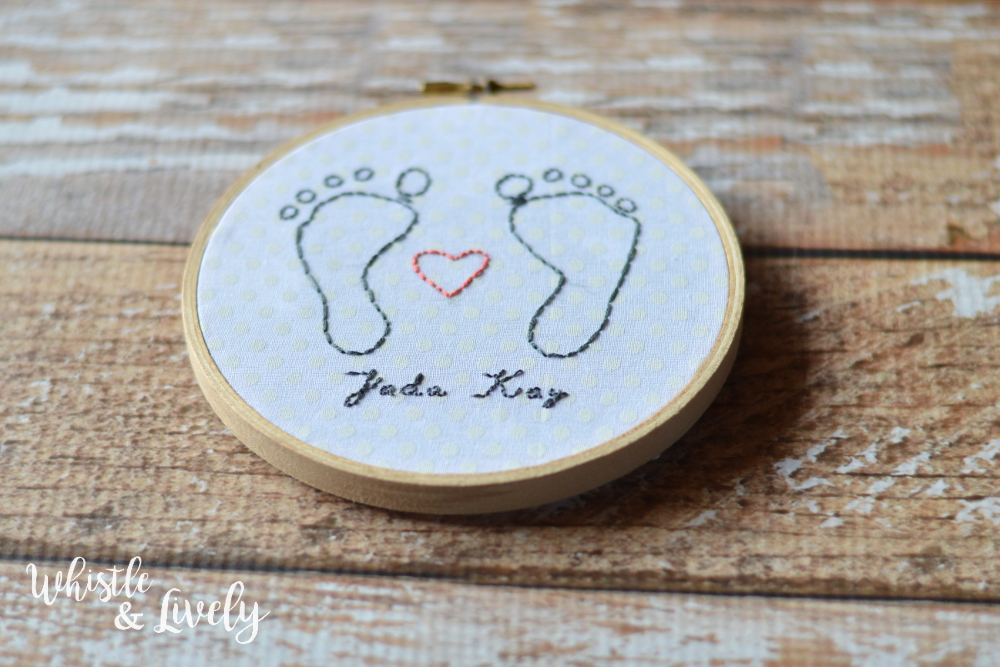
Now you have a beautiful baby footprint embroidery keepsake of your baby’s actually footprints! And it takes a minimal amount of time, which is super nice. You could also add other details, like the birthday or height and weight. I forget how tiny those newborn baby feet are. So cute.
Want more fun, easy and chic projects?


Leave a Reply